Revive Your Ryobi Battery: Quick Jump Start Guide
batterychargers.site and its partners may earn a commission if you purchase a product through one of our links
Struggling with a Ryobi battery that won’t charge? Before you consider replacing it, try a DIY Ryobi battery jump start. This nifty trick might just bring your power tool back to life, saving you both time and money. This guide walks you through how to jump start a Ryobi battery, step by step. While not officially endorsed by Ryobi, this technique utilizes an old AC adapter and, optionally, a multimeter to pulse charge the battery. If you’re ready to take matters into your own hands, keep reading to restore your Ryobi battery to its former glory.
Key Takeaways
- A flashing red light on a Ryobi charger doesn’t always mean your battery is beyond repair.
- DIY Ryobi battery jump start can save you the cost of a new battery.
- Pulse charging with an AC adapter might rejuvenate your battery’s voltage.
- A multimeter, while optional, can provide helpful voltage readings during the process.
- Understanding the correct method and safety precautions is critical for successful jump starting.
Understanding the Ryobi Battery Predicament
When it comes to maintaining your power tools, encountering battery issues can be both frustrating and confusing. This is particularly true when your Ryobi battery’s behavior suggests a defect, but the reality may be quite different. Let’s delve into the nuances behind the blinking red light of your charger and why this might not spell the end for your Ryobi battery.
The Dreaded Flashing Red Light Explained
If you’re a Ryobi power tool user, you’re likely familiar with the panic that ensues when you see the flashing red light on your charger. This light is commonly misunderstood as a death sentence for your battery. However, this indicator is often a call to action for a jump starting a Ryobi battery procedure. It’s more of a cry for help than a goodbye, signaling that your battery needs a little boost to get back in the game.
Why Your Ryobi Battery Isn’t Necessarily Defective
It’s easy to jump to conclusions and label your battery as defective at the first sign of trouble. Nevertheless, the truth is that Ryobi batteries are robust, and what appears to be a defect might actually be a simple case of the battery slipping into sleep mode from being over-discharged. This safety mechanism protects the battery from deep discharge damages. So before you give up on it, consider that an easy Ryobi battery jump start may just be the wake-up call it needs.
Common Triggers for Ryobi Battery Failure
Mistaken as faulty, many Ryobi batteries are put aside when they fail to charge. However, numerous factors such as prolonged storage, exposure to extreme temperatures, or even leaving the battery in the charger for an extended period can lead to a failure state. Recognizing these triggers and applying a safe Ryobi battery jump start process can effectively rescue your battery from its dormant state. By understanding the reasons behind this predicament, you can prevent potential future occurrences and ensure the longevity of your Ryobi batteries.
Preparation: Tools and Safety Tips for Jump Start
Embarking on a DIY project to jump start your Ryobi battery requires not just courage and a bit of technical know-how, but also the right equipment and a serious regard for safety. Below is the essential guide to prepare you for this task, ensuring you’ve got everything in place for a successful and safe jump start.
Gathering Essential Equipment for the Jump Start Process
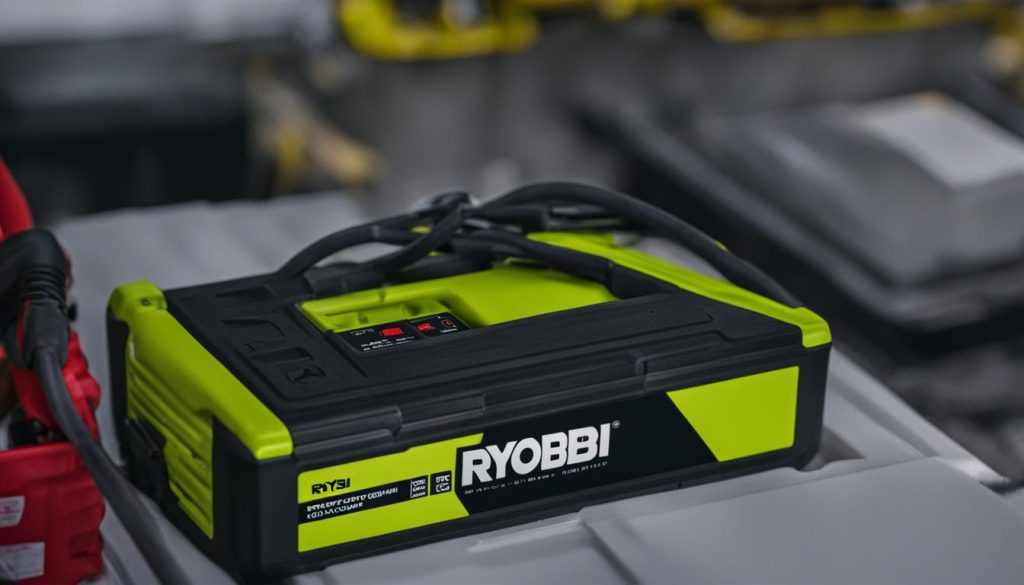
Before you begin, let’s make sure you have all the necessary items on hand. You’ll need:
- A non-charging Ryobi lithium-ion battery.
- An old AC adapter, which will serve as your makeshift charger.
- A multimeter — this is optional, but highly recommended for checking voltage levels and ensuring accuracy.
The positive and negative wires of the AC adapter are imperative to identify correctly — typically, positive is striped or solid white, and black is for negative. Equipping yourself with these essentials is the first step in the Ryobi battery jump start guide.
Important Safety Precautions to Prevent Damage
To avoid any mishaps, adhere to the following safety tips:
- Work in a well-ventilated area, away from flammable materials.
- Wear protective gear, such as safety glasses and gloves.
- Ensure a solid understanding of your tools, particularly the multimeter. If you’re using one, familiarize yourself with the voltage measurement setting, indicated by a “V”.
- Double-check all connections to prevent polarity confusion, which could lead to serious danger.
| Tool/Equipment | Purpose | Notes |
|---|---|---|
| Non-charging Ryobi lithium-ion battery | Subject of jump start | Ensure battery is compatible and can be jump-started |
| Old AC adapter | Power source for jump starting | Cut and strip the wires to expose positive and negative ends |
| Multimeter | To measure voltage, ensuring safety and accuracy | Useful but optional; important for initial voltage check and progress tracking |
In the following sections of this Ryobi battery jump start instructions, you’ll explore the step-by-step guide to performing the jump start. But for now, with your equipment ready and safety measures in place, you’re set to tackle this challenge head-on.
How to Jump Start a Ryobi Battery: The Initial Steps
When your Ryobi battery fails to charge, it’s not necessarily beyond salvation. The jump start Ryobi battery process can breathe new life into your power cells. It requires precise steps to safely access the inner workings of the battery. You’ll need a few household tools to get started with this revival technique. Let’s take a closer look at what the initial phase involves.
- Open the Battery Case: Begin by removing the screws that hold your Ryobi battery casing together. Pay attention to hidden screws that may be lurking under any labels or plastic covers.
- Expose the Battery Cells: Carefully split the plastic halves apart to reveal the inner cells responsible for powering your tool’s performance.
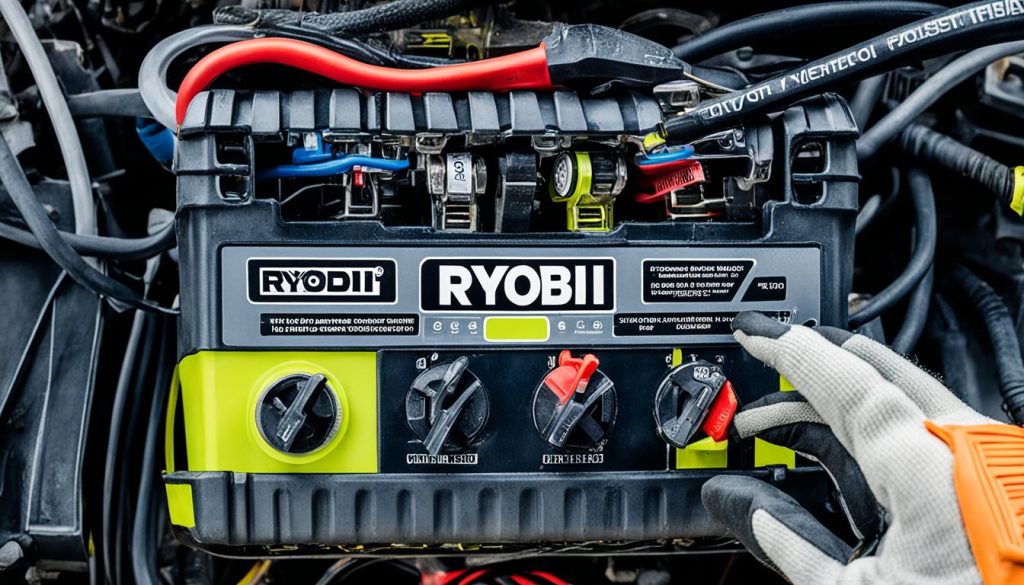
If you possess a multimeter, now is the time to put it to good use. Check the current voltage of the battery to gauge how much power you’ll need to supply during the jump start.
- Positive to Positive, Negative to Negative: Ready your AC adapter, making sure to identify and match the wire polarities correctly to their corresponding contacts on the battery.
By following these initial measures, you’re setting a solid foundation for the Ryobi battery jump start process. The approach should be methodical and patient, to ensure the best possible outcome for your battery.
| Step | Action | Tools Needed |
|---|---|---|
| 1 | Remove casing screws | Screwdriver |
| 2 | Separate battery halves | Flat tool/pry bar |
| 3 | Measure existing voltage | Multimeter (optional) |
| 4 | Identify wire polarities | AC adapter wires |
The Core Jump Starting Procedure for a Ryobi Battery
Embarking on a DIY Ryobi battery jump start can seem daunting, but with the right guidance, you can restore power to your tools in no time. The battery revival journey continues with a focused technique known as “pulse charging.” This practice is essential for breathing life into lithium-ion batteries which power your Ryobi tools. Ensuring the connections are accurate and firm is the first step towards a successful jump start.
Connecting to the Power Source Correctly
Ensuring correct connection to the power source is a fundamental aspect of a safe Ryobi battery jump start. With your AC adapter plugged in, you’ll carefully align the black wire to the negative terminal and the white or striped wire to the positive terminal of your battery. It’s a process that requires precision and a steady hand. A simple way to remember is that black aligns with the minus (-) sign and white or striped aligns with the plus (+) sign. This attention to detail prevents any unfortunate mishaps and ensures a safe jump start experience.
The Significance of ‘Pulse Charging’ Technique
The “pulse charging” method is what makes an easy Ryobi battery jump start so effective. By intermittently pressing the adapter wires against the battery terminals for a few seconds and then releasing them, you mimic the pulse of current that reactivates your battery’s internal chemistry. This on-and-off strategy shouldn’t exceed a minute and should gradually increase the battery’s voltage. Should the charger’s red light persist, repeat the process, boosting the battery’s voltage to the charger’s recognition point. Upon success, you’ll notice the charger’s green light, signaling that your efforts have revived your Ryobi battery – a true testament to a secure and efficient DIY approach.
FAQ
What does a flashing red light on my Ryobi charger indicate?
A flashing red light typically means your Ryobi battery is not charging properly and may have entered sleep mode due to being over-discharged or left on the charger for an extended period.
Can a ‘defective’ Ryobi battery be revived?
Yes, oftentimes a battery that seems defective can be revived by jump starting it. This process bypasses the battery’s internal circuitry and can help restore enough charge for the battery to be recognized by the charger again.
What should I do before attempting to jump start my Ryobi battery?
Before jump starting your battery, gather all necessary equipment, including an old AC adapter, a multimeter (optional), and ensure you understand how to identify the positive and negative wires. It’s also vital to take safety precautions and work in a well-ventilated area.
How do you open a Ryobi battery to jump start it?
To access the internal cells for jump starting, you will need to safely open the battery case by removing screws, including a potentially hidden one under a plastic piece, and separate the two halves of the case.
What is the proper way to connect the AC adapter wires to the Ryobi battery?
It is essential to maintain correct polarity when connecting the AC adapter wires to the battery: connect the positive wire (usually white or striped) to the positive terminal and the negative wire (usually black) to the negative terminal.
What is ‘pulse charging’ and how do you perform it?
Pulse charging is a method where you connect and disconnect the AC adapter wires to the battery terminals—positive to positive, negative to negative—in short bursts to mimic a charging cycle. It’s done by touching the wires to the terminals for a few seconds and then releasing them, repeating this process for about a minute or as needed.
How do I know if the jump start procedure has worked?
After the pulse charging process, check if the voltage of the battery has increased. Once the voltage reaches approximately 10 to 14 volts, try charging the battery normally with the Ryobi charger. If the charger light turns green, the jump start has been successful.
What should the voltage reading be for a Ryobi battery to be recognized by the charger?
The Ryobi charger typically recognizes a battery when its voltage is between 10 to 14 volts, sufficient for the charger to initiate normal charging and switch the light to green (charging status).
Is jump starting a Ryobi battery safe?
Jump starting a Ryobi battery can be safe if done carefully and by following proper guidelines. However, please note this process is not officially endorsed by Ryobi, and there are risks involved. Always prioritize safety, use protective gear, and ensure adequate ventilation when working on batteries.

