Jump Start a Sulfated Battery: Quick Guide
batterychargers.site and its partners may earn a commission if you purchase a product through one of our links
If you’ve ever been greeted by the dreaded silence of a non-responsive engine, it’s possible that a sulfated battery is the culprit. Lead acid batteries, the kind powerhousing your cars, trucks, and even golf carts, have a notorious vulnerability to sulfation, leaving many motorists stranded. But despair not – your sulfated battery may have a second life. This sulfated battery jump start guide is your comprehensive walkthrough to resurrecting what seems like a lost cause. Prepared to equip you with the knowledge and steps for reviving a seemingly lifeless lead acid battery, let’s unravel the mystique and get you back on the road safely.
Before reaching out for jumper cables or preparing for an unwelcome purchase of a new battery, pause. A jump start for a sulfated battery isn’t your everyday battery resurrection. It involves distinguishing savable cells from the gone-too-far ones and applying de-sulphation techniques beyond the typical jump start method. With patience, the right tools, and following safe procedures, your battery could be powering your drives once again.
Key Takeaways
- Identifying sulfation early can save your lead acid battery from premature failure.
- Employ specific techniques and smart chargers for effective de-sulphation.
- Safety first: always follow secure handling practices when jump starting a sulfated battery.
- Understand the importance of checking battery charge and cell health before attempting a jump start.
- Maintain your rejuvenated battery properly to prevent future sulfation.
- Develop patience, as successful de-sulphation might take several days to complete.
Understanding the Basics of Sulfated Battery Challenges
When it comes to lead acid batteries, sulfation can be the Achilles’ heel that diminishes performance and longevity. It’s essential for you to recognize the factors contributing to this issue and differentiate between the reversible and permanent sulfation which affects your battery’s efficacy. Awareness of the symptoms can lead to timely interventions, potentially saving you from the cost and inconvenience of replacement.
What Leads to Sulfation in Lead Acid Batteries?
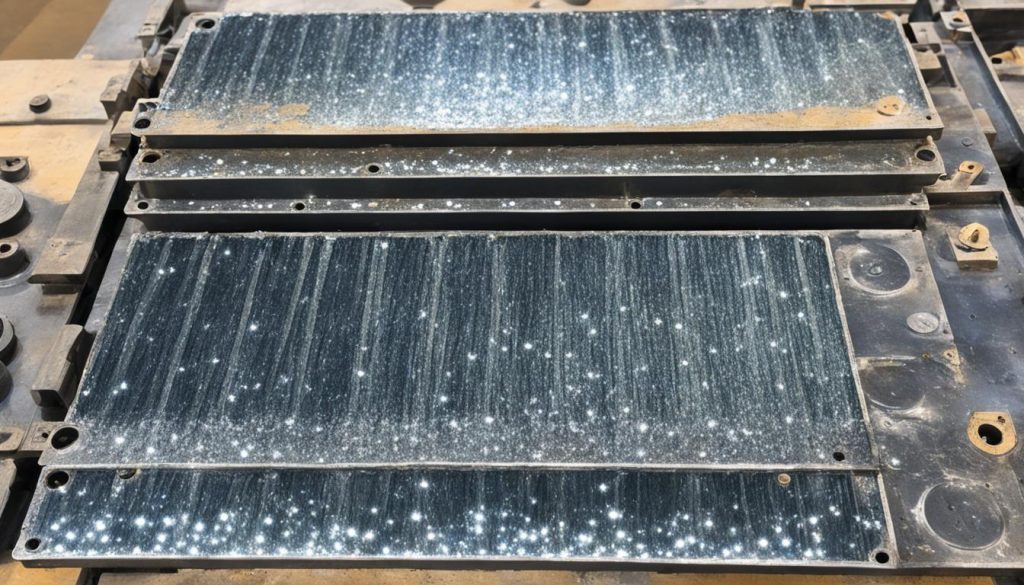
The primary culprit of sulfation is the accumulation of lead sulfate crystals on a battery’s lead plates. This often occurs when a battery discharges and isn’t recharged promptly, allowing these crystals to grow and harden. Factors like prolonged storage without proper charge, frequent shallow discharges, or operating in extreme temperatures can exacerbate the issue, leading to sulfated battery challenges.
Identifying the Difference Between Reversible and Permanent Sulfation
- Reversible Sulfation: This type, also known as soft sulfation, happens when lead sulfate crystal build-up is relatively new and has not yet solidified. With the correct charging techniques and conditions, you can often dissolve these crystals and restore normal battery function.
- Permanent Sulfation: Permanent or hard sulfation occurs when the sulfate crystals have been present for an extended period, usually made worse by low charge states and inaction. This form of sulfation can lead to significant capacity loss and is often irrecoverable.
Recognizing the Symptoms of a Sulfated Battery
Getting to know the symptoms of a sulfated battery is the first step toward mitigating damage. If your battery demonstrates a rapid voltage drop under load, it may point to irreversible or permanent sulfation. Conversely, a battery that maintains a stable voltage but performs poorly indicates reversible sulfation. Be wary if you notice reduced cranking power, lights dimming more quickly than usual, or electronic devices not holding a charge as long as expected—these are all telltale signs that sulfation may be impacting your battery’s efficiency.
Preparatory Steps Before Attempting to Jump Start a Sulfated Battery
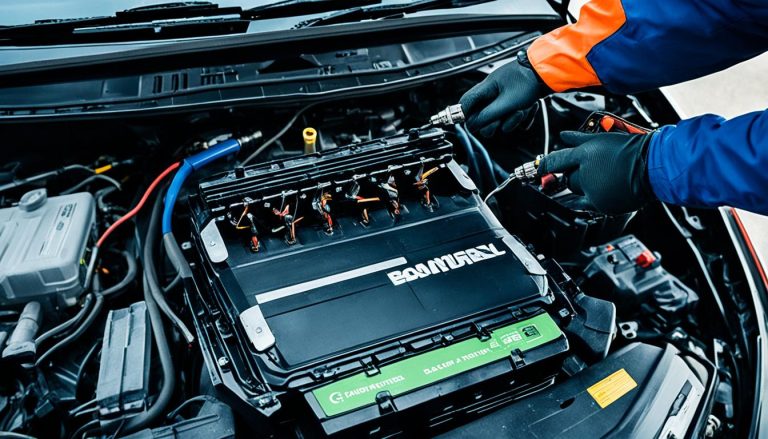
Before you embark on the necessary steps to jump start a sulfated battery, it is crucial to ensure you’re prepared for a safe and effective procedure. A thorough pre-jump inspection and adherence to safety protocols lay the groundwork for a successful battery revival.
Checking Battery Charge and Vital Components
Initiate the revitalization process by charging your batteries for a minimum of 12 hours to restore power levels sufficiently. Once the initial charge is complete, take a rest period to allow the battery to settle. It’s at this point that you should check whether the battery maintains its charge, which is the first indicator of its condition and readiness for the next steps.
Safety Precautions and Protective Equipment
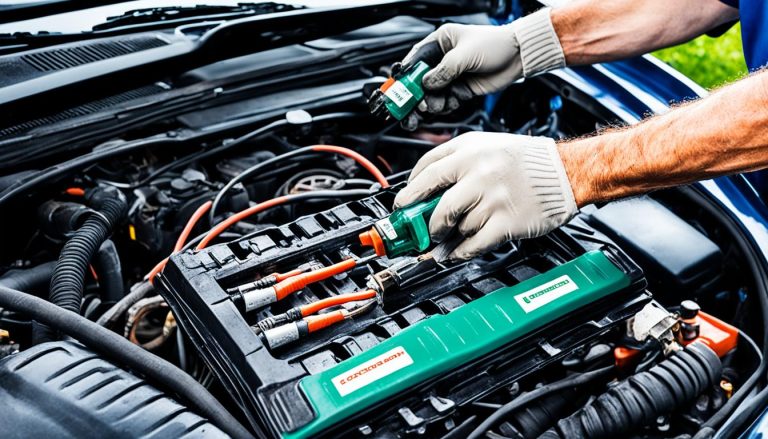
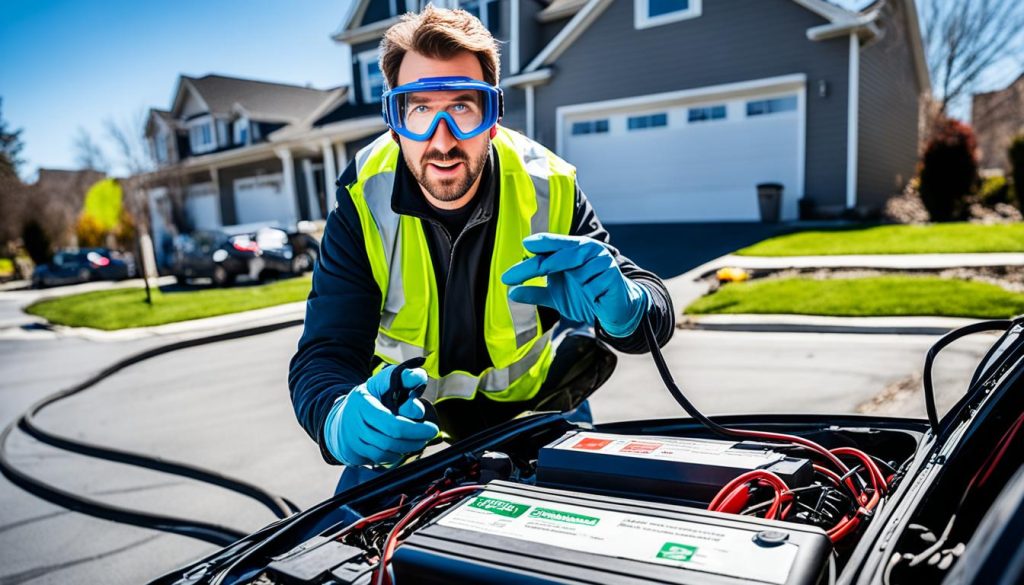
Taking appropriate safety precautions is non-negotiable when dealing with the potential chemical hazards of battery acid and the risk of sparks or explosions. Don protective gear such as safety goggles and gloves to shield yourself from unforeseen accidents.
Ensuring Proper Water Levels and Terminal Voltage Measurements
Once you’ve established all safety measures, verify the battery’s water level is adequate. This precaution is essential to prevent the risk of an explosion during the jump start process. Subsequently, measure the terminal voltage; a healthy 12v lead-acid battery should typically present a terminal voltage between 11.8v and 13.0v.
| Voltage (V) | Battery Status |
|---|---|
| 12.6 to 13.0 | Fully Charged |
| 12.0 to 12.5 | Partially Charged |
| 11.8 to 11.9 | Discharged / Sulfated |
If your measurements fall under the minimum threshold, it’s a sign of cell imbalance or severe sulfation, which necessitates immediate attention. Following these preparation steps diligently will equip your battery for the optimal jump start process and potentially extend its lifespan.
Reviving Your Lead Acid Battery: Effective De-sulfation Techniques
If you’ve discovered that your lead acid battery has succumbed to sulfation, don’t despair just yet—reviving a sulfated battery may be within your grasp. The right techniques for jump starting a sulfated battery can breathe new life into your ailing power source. These techniques are not only cost-effective but also environmentally friendly as they can extend the life of your battery and reduce waste.
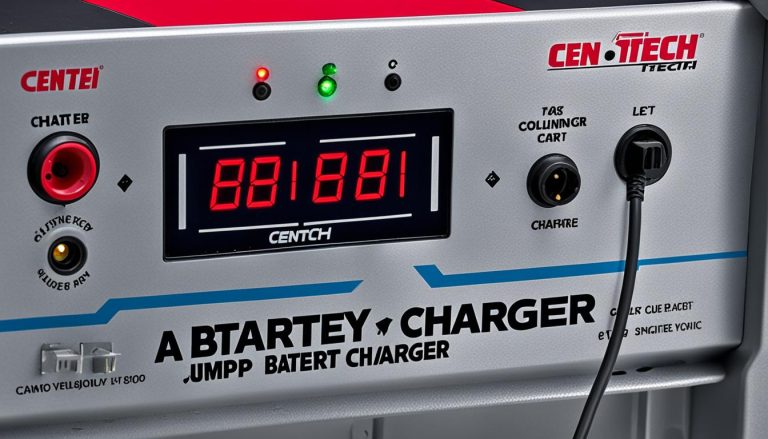
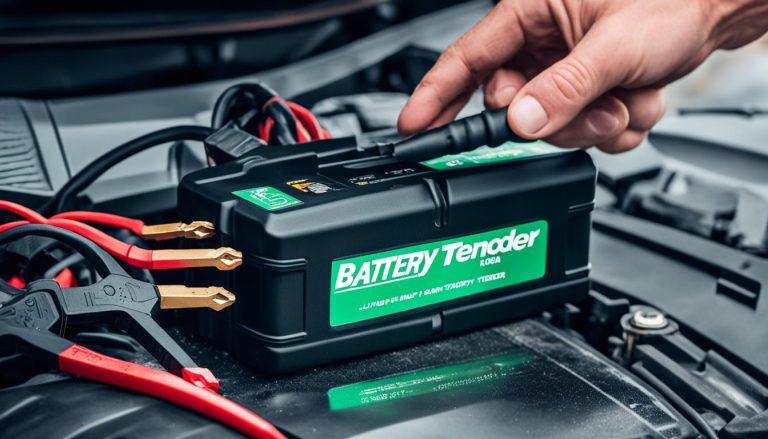
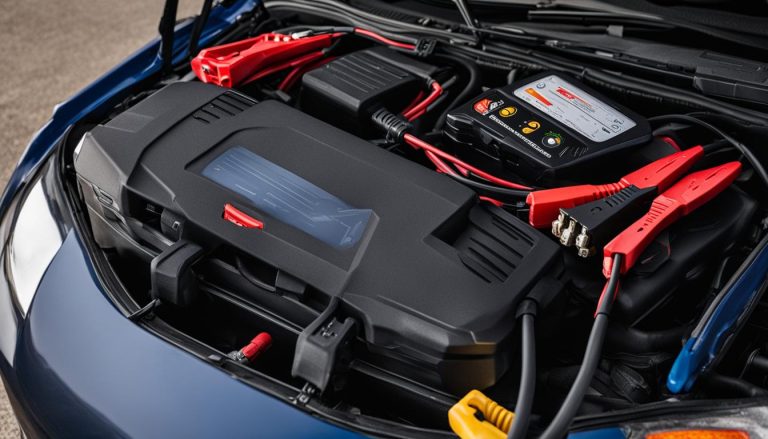
One of the most common effective de-sulfation methods includes the use of smart chargers or trickle chargers. These chargers work by administering a low, steady current to the battery over a prolonged period, typically one to two weeks. This gentle approach can help dissolve and redistribute the pesky lead sulfate crystals that are inhibiting your battery’s performance.
- Connect your charger: Attach a smart or trickle charger to your lead acid battery, observing the proper polarity.
- Set it and forget it: Let the charger work over an extended period, occasionally checking the progress.
- Monitor voltage and temperature: Ensure that the battery remains within safe charging parameters to avoid overheating and overcharging.
In addition to the steady charge method, a variety of electronic de-sulphate devices are available that send pulsing frequencies which can help break down the sulfate deposits. Using these devices is relatively straightforward:
- Connect the device: Attach the electronic de-sulphate device to your battery, closely following the manufacturer’s instructions.
- Power on: Activate the device and leave it connected—some models operate continuously while your battery is being used or charged.
For those looking for alternative solutions, chemical de-sulfators can be directly added to the battery cells. These compounds can effectively enhance the de-sulfation process when used correctly, but caution and proper handling are paramount to avoid damage to the battery or harm to yourself.
As you explore how to jump start a sulfated battery, it’s important to remember that the effectiveness of these methods depends on the overall condition of your battery. A battery with compromised plates or cells may not respond well to de-sulfation attempts. That being said, if your battery is in good physical condition but suffering from the effects of sulfation, these techniques could be your ticket to reviving your lead acid battery and avoiding the cost of replacement.
With perseverance and the right approach, even the most stubbornly sulfated battery can be given a new lease on life. Just be sure to follow all instructions and safety guidelines to ensure the best possible outcome.
How to Jump Start a Sulfated Battery
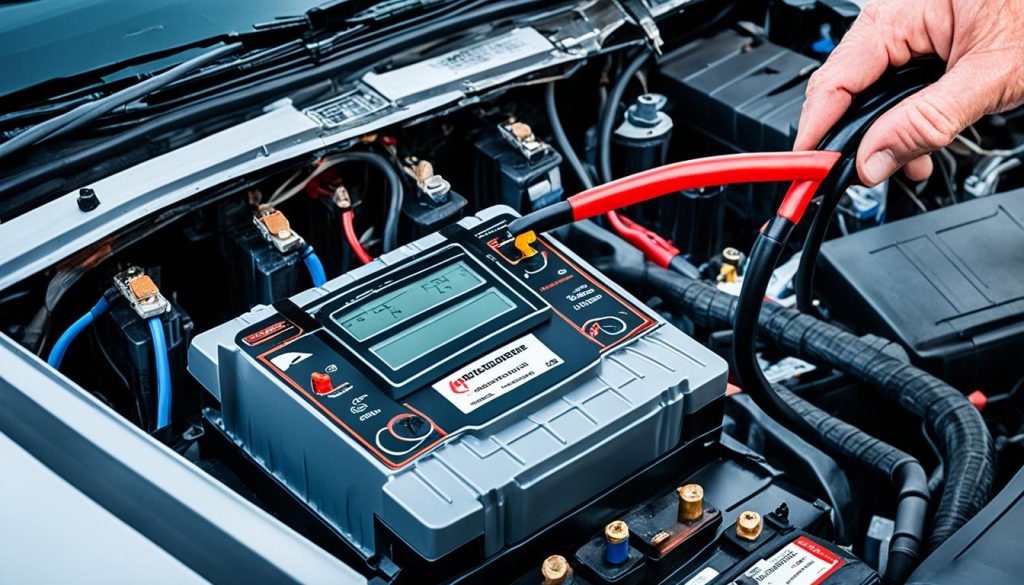
If your lead acid battery has become sulfated, it’s not necessarily the end of its life. With the right techniques, you can give it a second chance. Understanding how to jump start a battery with sulfation requires patience and the proper tools. Below, you’ll find reliable methods and essential tips for using a trickle charger or smart charger, as well as insights into when it might be fitting to employ electronic de-sulphate devices.
Tips for Using a Trickle Charger or Smart Charger
To start the recovery process, using a trickle charger or smart charger is recommended for its gentle and consistent power delivery. Here’s an easy-to-follow guide:
- Connect the charger: Attach the positive and negative leads to your battery’s corresponding terminals.
- Set the charge rate: A slow charge is pivotal, usually around 1-2 amps.
- Monitor: Allow the charger to run continuously for 7 to 10 days.
- Inspect: Look for signs of life in the battery, such as voltage increase.
- Test: Attempt to start your vehicle or use a battery tester to assess performance.
For the best results, ensure that you’re using a trickle charger with automatic shut-off capability to prevent overcharging once the battery is fully charged.
When to Consider Electronic De-sulphate Devices
When conventional charging doesn’t work, it might be time to step up the game with an electronic de-sulphate device. These gadgets pulse a higher voltage into your sulfated battery, which is more effective for breaking down stubborn sulfate deposits.
| Electronic De-Sulphate Device | Type | Functionality | Ideal Usage |
|---|---|---|---|
| Intelligent De-Sulphater | Smart Device | Automatically adjusts pulsing | High levels of sulfation |
| Manual Pulsing Tool | Dedicated Device | User-controlled voltage pulses | Targeted treatment for stubborn cells |
| Integrated Charger/De-Sulphater | Hybrid Device | Combines charging and de-sulfating | Overall maintenance and recovery |
If you decide on this route, make sure to follow the manufacturer’s guidelines closely to avoid damaging your battery.
Whether you’re using a trickle charger or exploring the efficacy of electronic de-sulphate devices, remember that patience is key. Sulfation didn’t happen overnight and neither will the revival of your battery. Armed with these sulfated battery jump start tips, you’re well on your way to restoring power and extending the life of your battery.
Maintaining Your Battery to Prevent Sulfation After Revival
Now that you’ve successfully jump started your lead acid battery, it’s crucial to keep it in top condition to avoid the recurrence of sulfation. Effective maintenance extends the life of your battery, ensuring your vehicle or electronic device remains operational when you need it most. Let’s delve into the best practices for lead acid battery charging and the proactive steps you can take to preserve your battery’s rejuvenated state.
Best Practices for Lead Acid Battery Charging
Keeping your battery fully charged is the cornerstone of battery maintenance. To achieve this, follow lead acid battery charging best practices by ensuring regular and complete charging cycles. Never let your battery drop below 12.4 volts, as a lower charge can accelerate sulfation. If you frequently use your vehicle for short trips, consider investing in a smart charger that can maintain an optimal charge level even when your battery isn’t in use. Charging your battery before it discharges significantly can ward off the sulfation process and enhance overall battery performance.
The Importance of Regular Maintenance and Storage Guidelines
Alongside diligent charging practices, embracing a routine of regular maintenance checks is beneficial for long-term battery health. Checking for signs of wear, cleaning terminals, and ensuring the electrolyte levels are correct go a long way in preventing sulfation. When it comes to storage, remember to abide by the storage guidelines for batteries. Store your battery in a cool, dry place where temperatures don’t exceed 75°F (24°C) to minimize sulfation risks. Consider periodic top-up charges if your battery will be idle for an extended period to keep those sulfate crystals at bay. Through vigilant upkeep, your battery is less likely to revert to a sulfated state, saving you time and the expense of frequent replacements.
FAQ
What Leads to Sulfation in Lead Acid Batteries?
Sulfation in lead acid batteries typically occurs when they are left in a discharged state for an extended period. Neglect of regular charging, or exposing the battery to partial states of charge without occasional full recharging, can lead to an accumulation of lead sulfate crystals on the battery’s plates, which contributes to sulfation.
Identifying the Difference Between Reversible and Permanent Sulfation
Reversible sulfation, or “soft” sulfation, happens when small sulfate crystals form but can usually be dissolved with proper charging techniques. Permanent, or “hard” sulfation, occurs when these crystals grow large and solidify, often due to prolonged periods of low charge, making it much more challenging or even impossible to reverse without advanced interventions.
Recognizing the Symptoms of a Sulfated Battery
Symptoms of a sulfated battery include difficulty in starting the engine, slow cranking, rapid voltage drop under load (in the case of irreversible sulfation), a persistent low charge level, reduced efficiency, and overall poor performance of electronic devices powered by the battery. These symptoms can be mild or more severe, depending on the level of sulfation.
Checking Battery Charge and Vital Components
Before attempting to rejuvenate a sulfated battery, check the battery’s state of charge with a voltmeter. Ensure that the charging system and all vital components are functioning correctly and look out for damaged cells, which can be identified by significantly lower voltages compared to healthy ones.
Safety Precautions and Protective Equipment
Always wear appropriate safety gear like goggles and acid-resistant gloves when handling batteries. Work in a well-ventilated area, avoid sparks and open flames around the battery, and be aware of the correct procedure to handle acid spills before starting the battery jump-start process.
Ensuring Proper Water Levels and Terminal Voltage Measurements
Check the battery’s water levels and ensure they are at the correct level; this helps reduce the risk of explosion. Measure the terminal voltage to ensure the battery is not excessively discharged. A healthy 12V lead-acid battery should read between 11.8V and 13.0V.
Tips for Using a Trickle Charger or Smart Charger
Using a trickle charger or a smart charger is advisable when treating a sulfated battery. These chargers apply a slow, steady charge that can help dissolve the lead sulfate crystals over time. Leave the charger connected for an extended period, about a week to ten days, to give the de-sulfation process the best chance of success.
When to Consider Electronic De-sulphate Devices
If conventional charging does not resolve the sulfation, electronic de-sulphate devices may be useful. They emit high-frequency pulses to break down the sulfate crystals. These devices are a good option for batteries that are not too far gone and can be used continuously to treat the battery.
Best Practices for Lead Acid Battery Charging
To maximize the lifespan and performance of your lead acid battery, always follow the manufacturer’s recommended charging guidelines. Use a quality charger, ensure the battery is fully charged when put into storage, and charge periodically if it’s not being used regularly. Avoid overcharging and deep discharging as these can harm the battery.
The Importance of Regular Maintenance and Storage Guidelines
Regular maintenance is key to preventing battery sulfation. Store your battery in a cool, dry place with a stable temperature. If the battery will not be in use for an extended time, ensure it’s charged to at least 12.4 volts to prevent sulfation. Check the charge periodically and top up as needed to maintain battery health.

